Spring Boot中使用JavaMailSender发送邮件
发送邮件应该是网站的必备功能之一,注册验证、忘记密码或者是给用户发送营销信息都需要使用到邮件。最早期的时候我们会使用JavaMail相关api来写发送邮件的相关代码,后来spring推出了JavaMailSender更加简化了邮件发送的过程,在之后springboot对此进行了封装就有了现在的spring-boot-starter-mail,本章文章的介绍主要来自于此包。
相信使用过Spring的众多开发者都知道Spring提供了非常好用的JavaMailSender接口实现邮件发送。在Spring Boot的Starter模块中也为此提供了自动化配置。下面通过实例看看如何在Spring Boot中使用JavaMailSender发送邮件。
快速入门
简单邮件
在Spring Boot的工程中的pom.xml中引入spring-boot-starter-mail依赖:
1 | <dependency> |
如其他自动化配置模块一样,在完成了依赖引入之后,只需要在application.properties中配置相应的属性内容。
下面我们以QQ邮箱为例,在application.properties中加入如下配置(注意替换自己的用户名和密码):1
2
3
4
5
6spring.mail.host=smtp.qq.com
spring.mail.username=用户名
spring.mail.password=密码
spring.mail.properties.mail.smtp.auth=true
spring.mail.properties.mail.smtp.starttls.enable=true
spring.mail.properties.mail.smtp.starttls.required=true
注意:
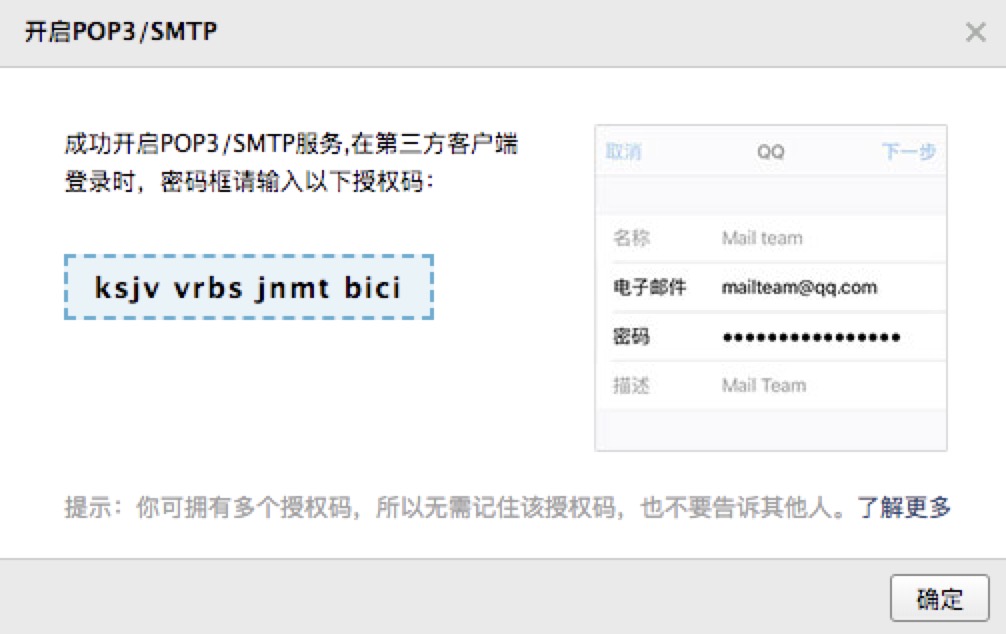
这里有可能出现org.springframework.mail.MailAuthenticationException: Authentication failed; nested exception is javax.mail.AuthenticationFailedException: 535 Error这种异常情况,请参照QQ邮箱授权码的解决方法。
点击下图中POP3/SMTP服务的开启按钮,然后生成授权码,这个授权码就是上面spring.mail.password需要填写的密码。


接下来我们就通过单元测试来实现一封简单邮件的发送。1
2
3
4
5
6
7
8
9
10
11
12
13
14
15
16
17@RunWith(SpringRunner.class)
@SpringBootTest public class SpringBootMailApplicationTests {
@Autowired
private JavaMailSender mailSender;
@Test
public void sendSimpleMail() {
SimpleMailMessage message = new SimpleMailMessage();
message.setFrom("496926024@qq.com");
message.setTo("wyb496926024@gmail.com");
message.setSubject("topic:simple mail");
message.setText("test context");
mailSender.send(message);
}
}

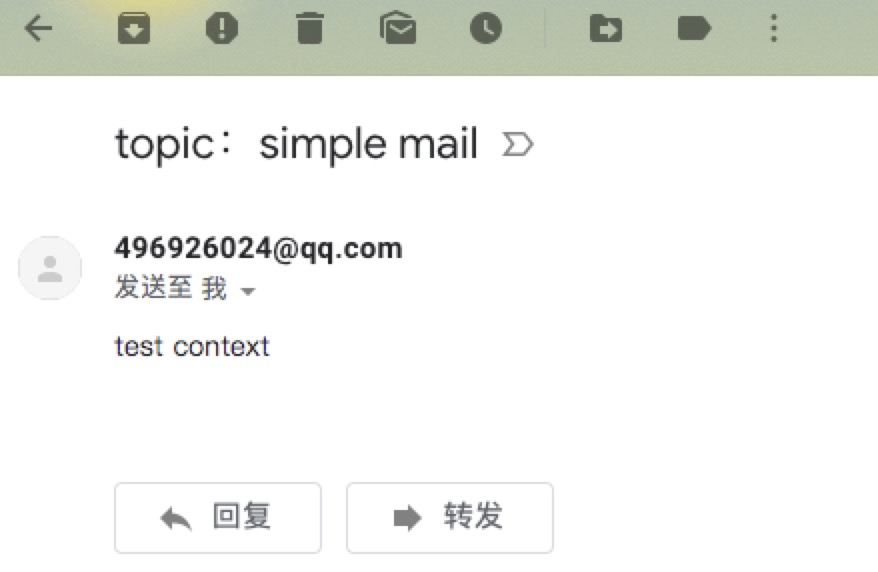
收到邮件,bingo!到这里一个简单的邮件发送就完成了。
进阶使用
在上面的例子中,我们实现了简单的邮件发送。在实际的使用过程中,我们还可能会带上附件或是使用邮件模板等。这时候我们
附件邮件
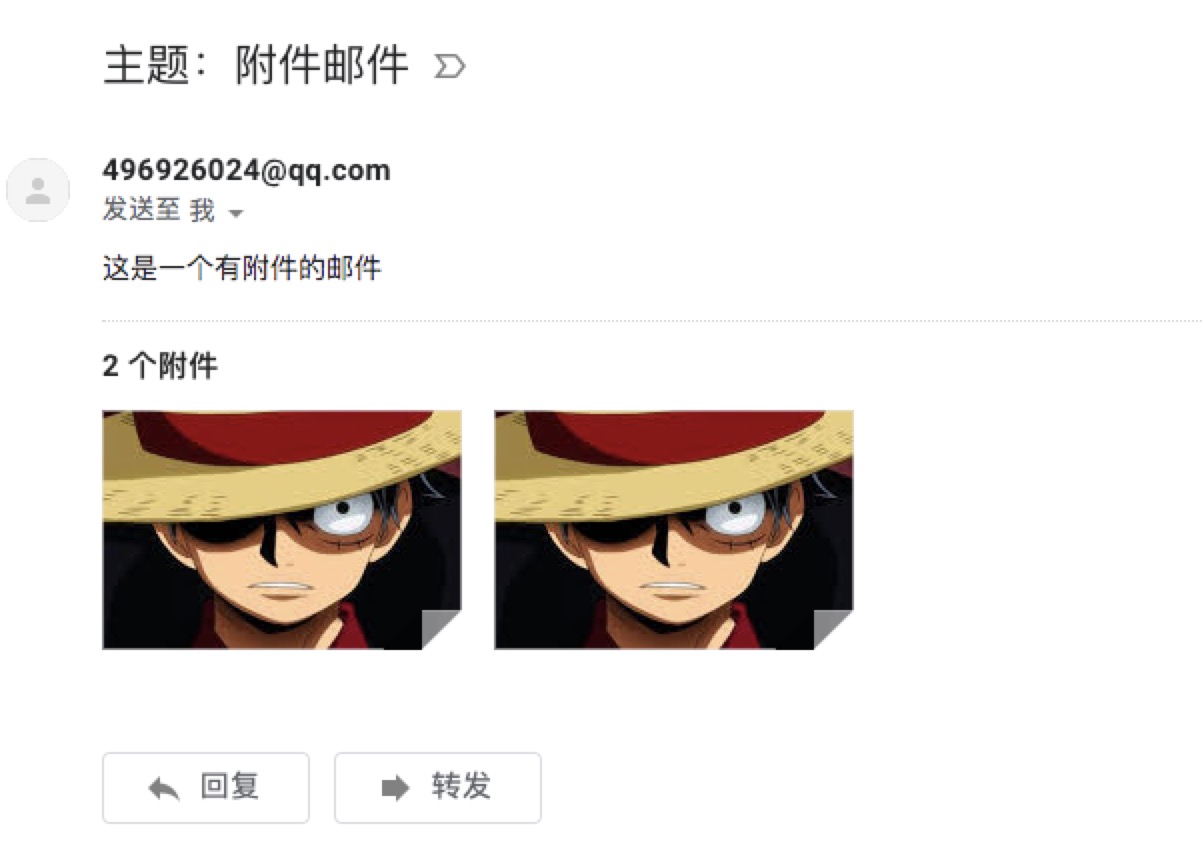
在上面单元测试中加入如下测试用例(通过MimeMessageHelper来发送一封带有附件的邮件):
1 | @Test public void sendAttachmentsMail() throws Exception { |

静态资源邮件
除了发送附件之外,我们在邮件内容中可能希望通过嵌入图片等静态资源,让邮件获得更好的阅读体验,而不是从附件中查看具体图片,下面的测试用例演示了如何通过MimeMessageHelper实现在邮件正文中嵌入静态资源。1
2
3
4
5
6
7
8
9
10
11
12
13@Test public void sendInlineMail() throws Exception {
MimeMessage mimeMessage = mailSender.createMimeMessage();
MimeMessageHelper helper = new MimeMessageHelper(mimeMessage, true);
helper.setFrom("496926024@qq.com");
helper.setTo("wyb496926024@gmail.com");
helper.setSubject("主题:嵌入静态资源");
helper.setText("<html><body><img src=\"cid:photo\" ></body></html>", true);
FileSystemResource file = new FileSystemResource(new File("/Users/wyb/Github/spring-boot-learning/spring-boot-mail/src/main/resources/static/photo-1.jpg"));
helper.addInline("photo", file);
mailSender.send(mimeMessage);
}
这里需要注意的是addInline函数中资源名称photo需要与正文中cid:photo对应起来

模板邮件
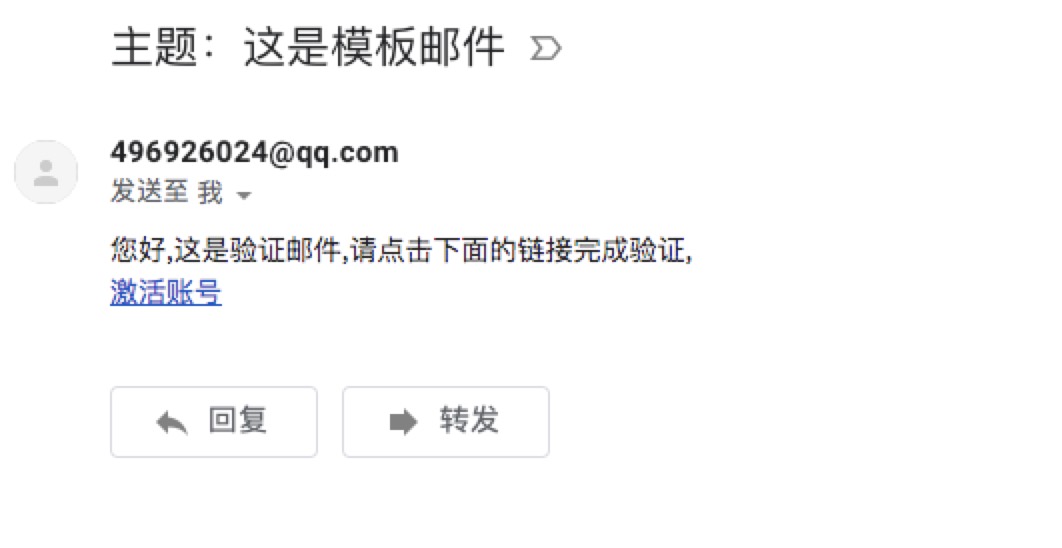
通常我们使用邮件发送服务的时候,都会有一些固定的场景,比如重置密码、注册确认等,给每个用户发送的内容可能只有小部分是变化的。所以,很多时候我们会使用模板引擎来为各类邮件设置成模板,这样我们只需要在发送时去替换变化部分的参数即可。
在Spring Boot中使用模板引擎来实现模板化的邮件发送也是非常容易的,下面我们以velocity为例实现一下。
引入velocity模块的依赖:
1 | <dependency> |
在resources/templates/下,创建一个模板页面template.html:
1 | <!DOCTYPE html> |
我们之前在Spring Boot中开发Web应用时,提到过在Spring Boot的自动化配置下,模板默认位于resources/templates/目录下
最后,我们在单元测试中加入发送模板邮件的测试用例,具体如下:
1 | @Test public void sendTemplateMail() throws Exception { |

至此邮件发送我们就演示完成了,希望对你有帮助~